Anadama
I needed bread for my lunch sandwiches at work, so I decided to go with Anadama for my next bread. I did deviate from the recipe a little bit with a special ingredient, corn meal from my own home grown 'Bloody Butcher' heirloom dent corn. Of course this meant a bit more work, I needed to mill it into corn meal.
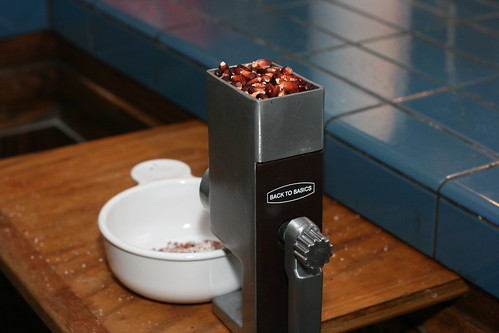
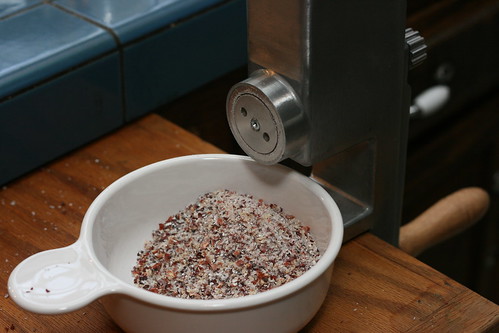
I've used this mill a number of times before, but always making a fine flour, so I had to adjust the mill and my strategy a bit to get a coarse meal. A coarse milling also meant I had to do some sifting and winnowing. When I mill the corn to a fine flour, the bran and any chaff left get milled fine as well and are not really noticeable. However, a coarse milling left large pieces of bran and chaff. The bran I reserved and passed through the mill a second time on a finer setting.
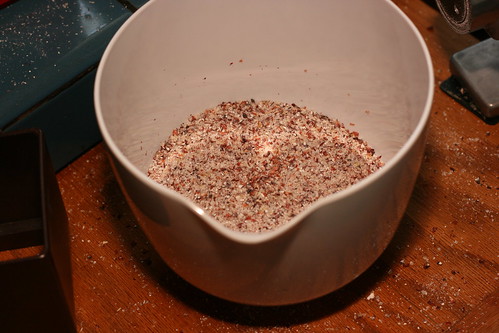
It took a while to mill and sift enough corn for the recipe, I was measuring by weight, which was a good thing, as I needed far more than a cup for the appropriate weight of corn meal.
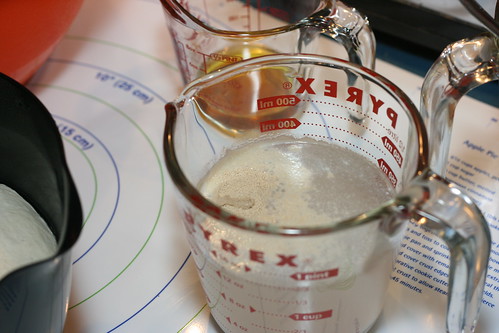
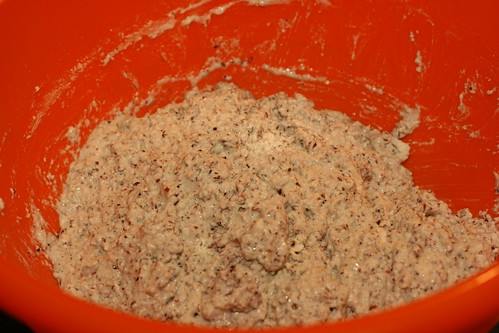
From there, it was a simple matter of mixing in a bit of water to make a soaker, covering the bowl, and leaving it til the next day.
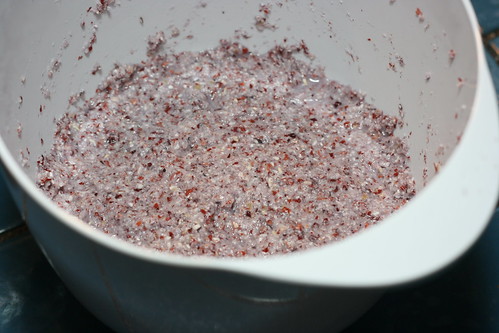
The next morning the soaker had definitely absorbed more of the water and had a wonderfully strong corn scent, similar to tortillas.

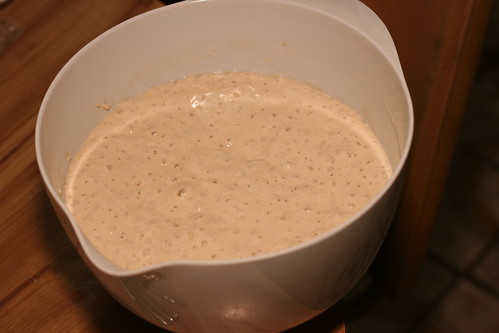
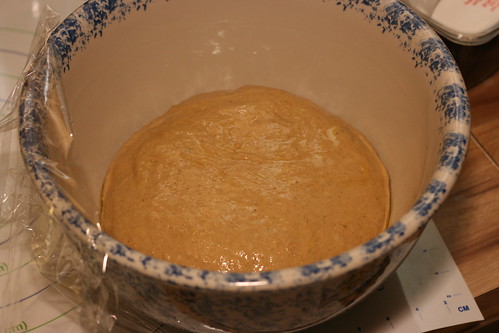
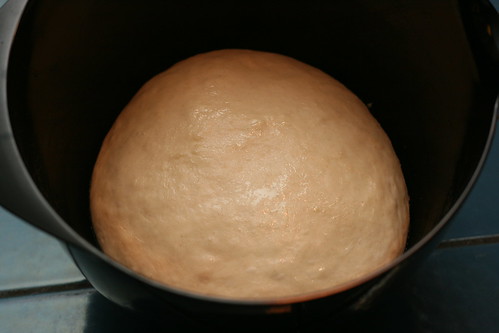
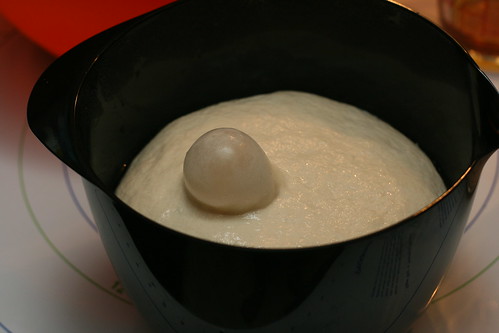
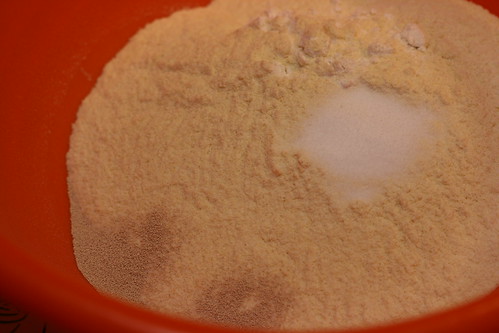
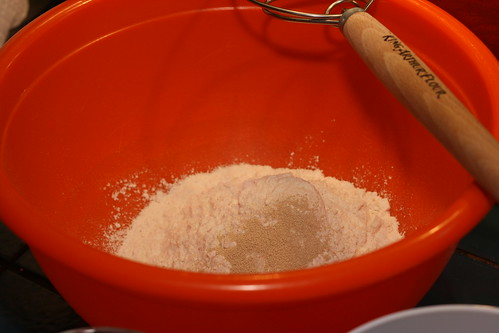
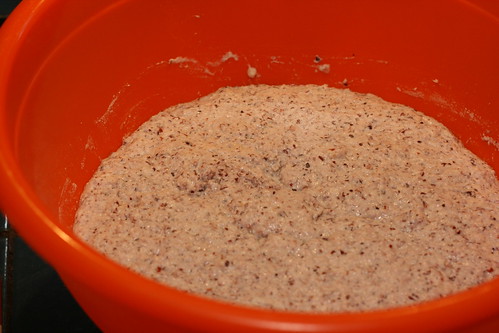
I measured out the ingredients for the sponge preferment, mixed in the soaker, and left it to rise.
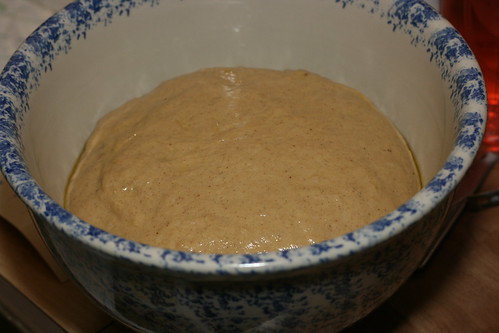
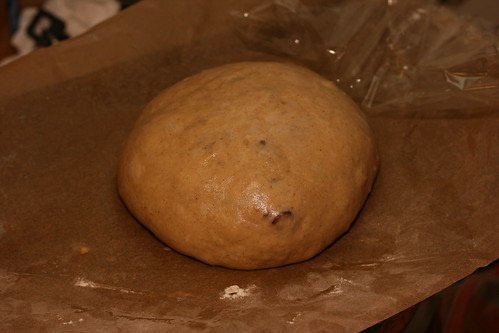
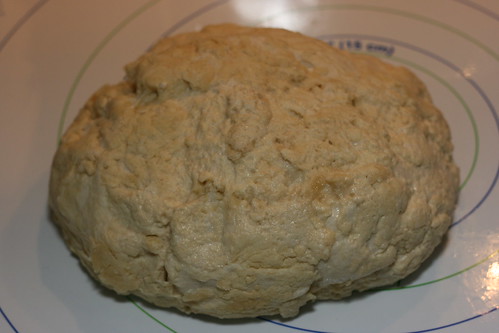
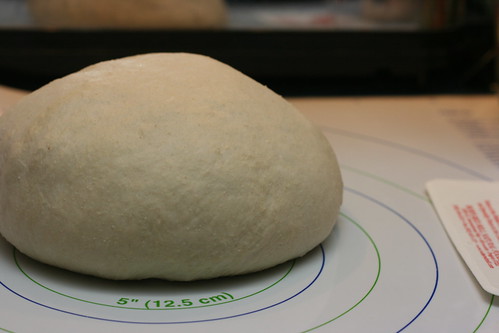
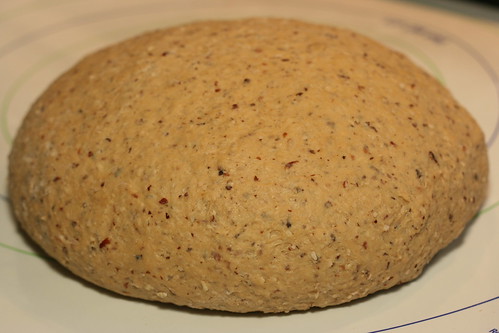
I forgot to take a picture of the rest of the ingredients added to the sponge, but you can probably imagine. The dough ended up nice and supple, although I had to be somewhat careful in the kneading because of the coarse corn meal, which could easily tear the dough.
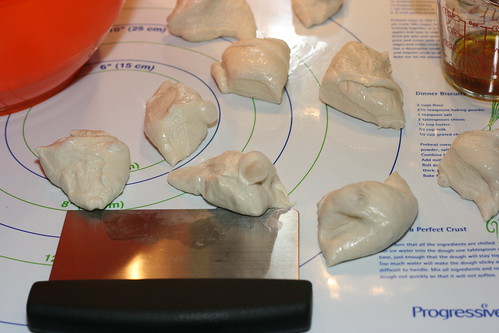
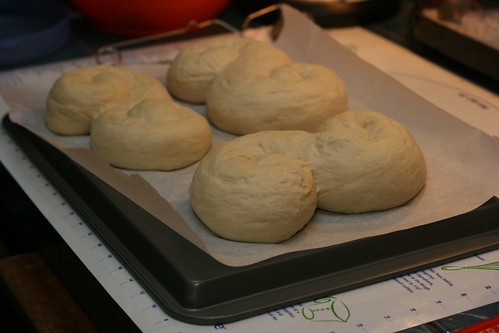
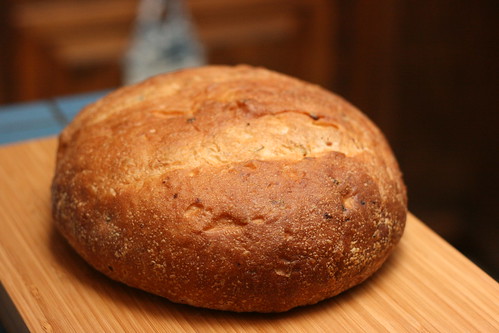
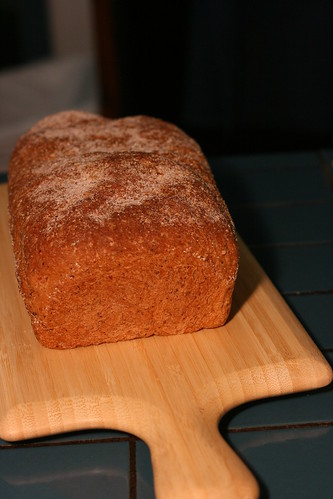
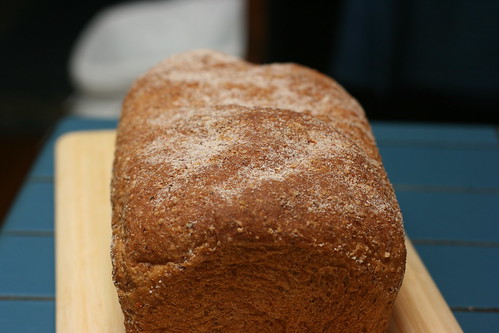
I also forgot to get a picture of the risen final dough, but it did rise quite nicely although it took a bit longer than expected. I took the dough out, degassed it, and shaped it into two sandwich loaves, and put them in waiting greased loaf pans.
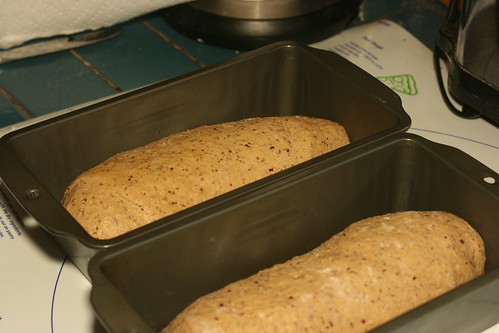
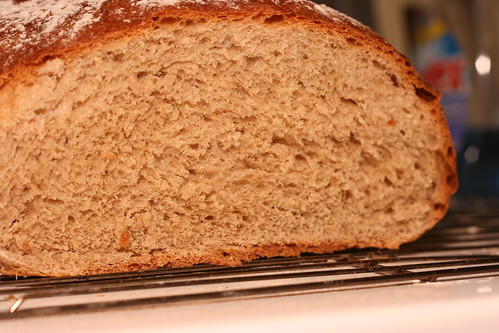
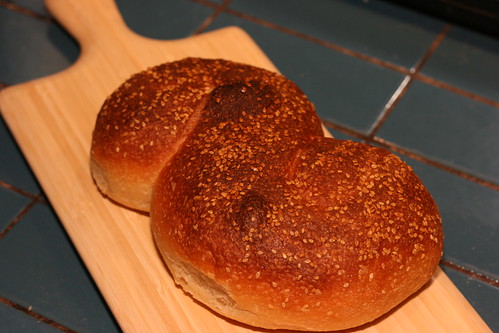
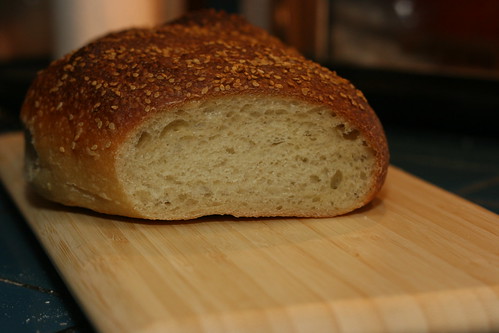
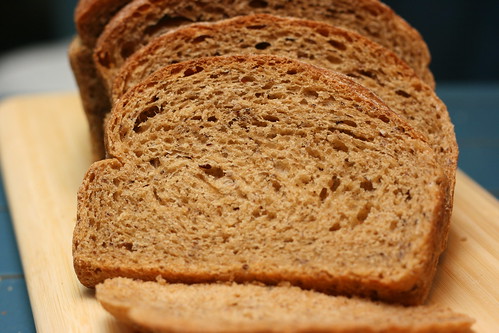
I was slightly disappointed with the final rise of the dough, I was worried that they would end up as dense small loaves. The loaves weren't overly dense when I got them out of the oven though, so, I really think I should've used smaller loaf pans than what the recipe asked for. The bread is really tasty, the corn and molasses give it a wonderful flavor combination. The coarse corn meal also gives it a great, but subtle, crunch. And the flecks of red corn bran complete it giving a really interesting look to the crumb. Definitely a recipe I'd like to repeat!
I've used this mill a number of times before, but always making a fine flour, so I had to adjust the mill and my strategy a bit to get a coarse meal. A coarse milling also meant I had to do some sifting and winnowing. When I mill the corn to a fine flour, the bran and any chaff left get milled fine as well and are not really noticeable. However, a coarse milling left large pieces of bran and chaff. The bran I reserved and passed through the mill a second time on a finer setting.
It took a while to mill and sift enough corn for the recipe, I was measuring by weight, which was a good thing, as I needed far more than a cup for the appropriate weight of corn meal.
From there, it was a simple matter of mixing in a bit of water to make a soaker, covering the bowl, and leaving it til the next day.
The next morning the soaker had definitely absorbed more of the water and had a wonderfully strong corn scent, similar to tortillas.
I measured out the ingredients for the sponge preferment, mixed in the soaker, and left it to rise.
I forgot to take a picture of the rest of the ingredients added to the sponge, but you can probably imagine. The dough ended up nice and supple, although I had to be somewhat careful in the kneading because of the coarse corn meal, which could easily tear the dough.
I also forgot to get a picture of the risen final dough, but it did rise quite nicely although it took a bit longer than expected. I took the dough out, degassed it, and shaped it into two sandwich loaves, and put them in waiting greased loaf pans.
I was slightly disappointed with the final rise of the dough, I was worried that they would end up as dense small loaves. The loaves weren't overly dense when I got them out of the oven though, so, I really think I should've used smaller loaf pans than what the recipe asked for. The bread is really tasty, the corn and molasses give it a wonderful flavor combination. The coarse corn meal also gives it a great, but subtle, crunch. And the flecks of red corn bran complete it giving a really interesting look to the crumb. Definitely a recipe I'd like to repeat!
posted by SumisuYoshi | 10:23 PM
|
0 comments
![]()
![]()