Sourdough is Back!
So I was starting to run low on the Anadama sandwich loaves and I needed a new loaf for my lunches. Flipping through Peter Reinhart's Whole Grain Breads I was reminded that I wanted to try the method from said book for a sourdough starter. And since the majority of the breads in the book are adaptable to using a sourdough, even if the recipe calls for a biga, I went with the 100% Whole Wheat Sandwich Loaf. But the loaf will come a bit later, first the starter...
The recipe for the starter in Whole Grain Breads calls for whole wheat or rye flour and pineapple juice in the first two stages (diastatic malt in the first stage too, if you have it). The pineapple juice (or more generally, acidity) helps to prevent the colonization of the starter by leuconostoc bacteria. And I have to say, I think it worked, as this starter got going more quickly and reliably than any that I've done before.
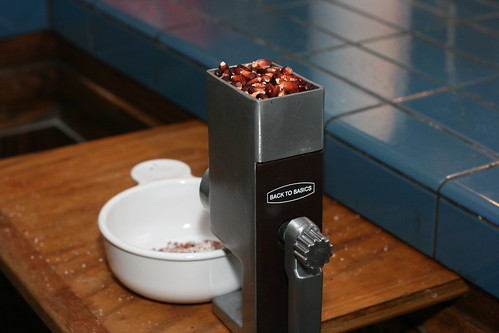
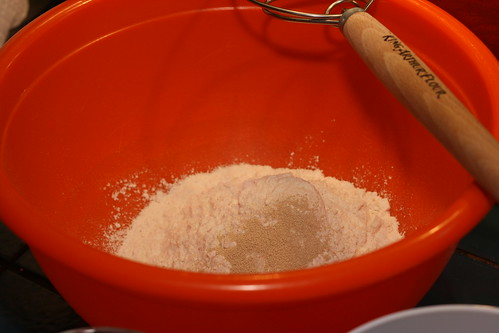
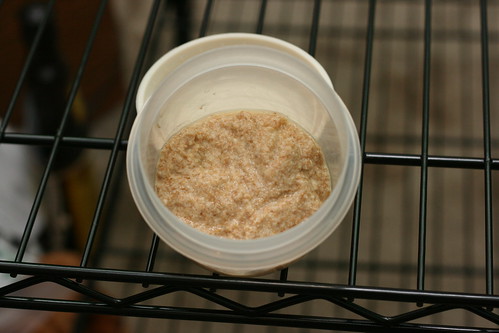
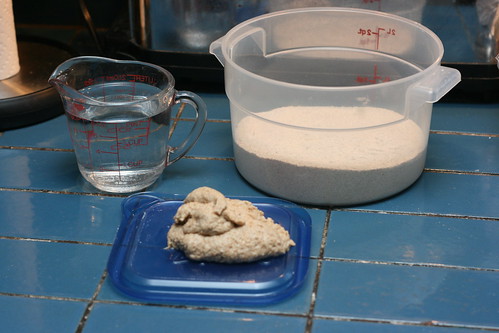
Here is the Phase One starter, whole wheat flour (I freshly milled it from whole wheat berries), pineapple juice, and a bit of diastatic malt.
Phase One took about 48 hours sitting and waiting for the starter to come to life, the recipe also suggests stirring the starter 2-3 times a day. I only noticed a few bubbles here and there in the Phase One starter, but I couldn't be sure they weren't just leftover from the mixing. The next step is simply to add some more whole wheat flour and pineapple juice to the Phase One starter.
Here is the starter after being mixed into Phase Two with more pineapple juice and flour.
During Phase Two of the starter I was definitely starting to see some activity! Not enough to raise a bread yet, but definitely much more than had happened during Phase One. There was also the slightest hint of a sourdough starter smell, previously the dominant smell had been the pineapple juice.
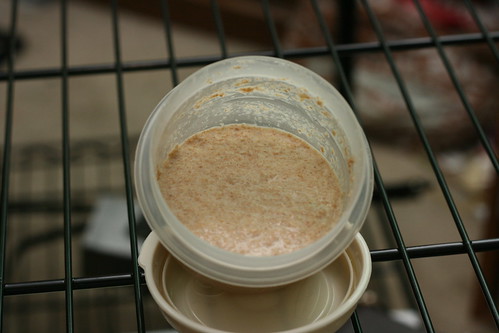
Here is the starter after it fermented overnight and before it was about to move to Phase Three.
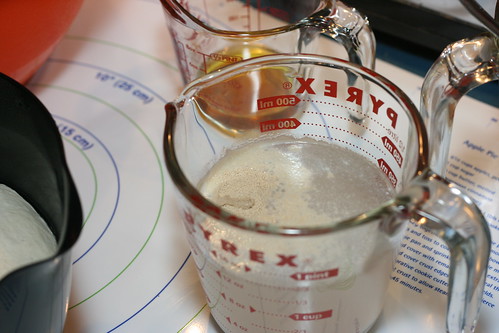
The ingredients ready for Phase Three, whole wheat flour, water, and the Phase Two starter.

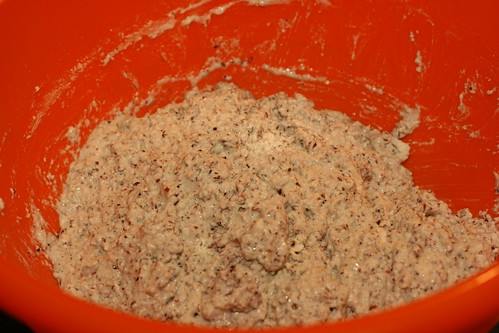
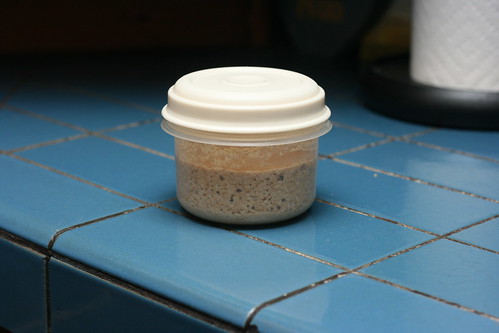
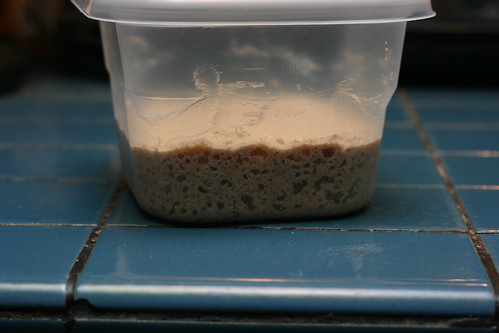
Mixed Phase Three Starter.
The starter was even more active during phase three, getting bubbly and doubling quite quickly. It also definitely had more of a sourdough smell now, but with very nice sweet wheat overtones. In about 12 hours it was already ready to move onto Phase Four.
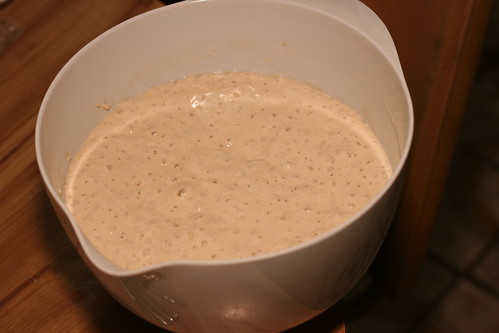
Look at those bubbles!
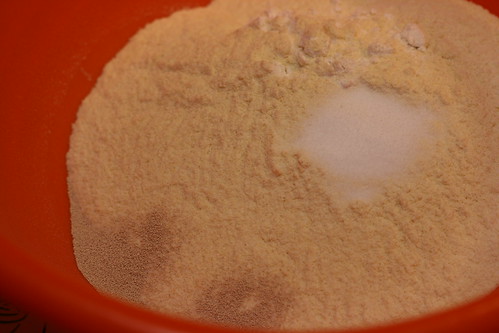
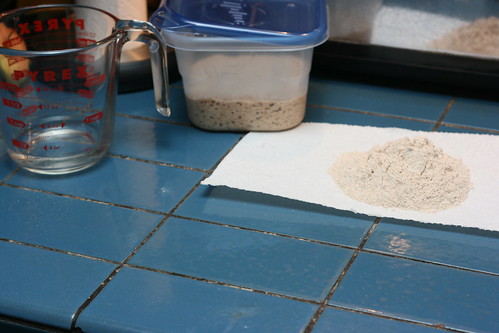
Ingredients for Phase Four Starter (only a portion of the starter from the previous phases is actually kept this time)
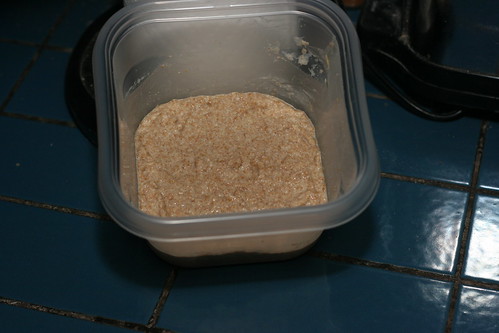
Phase Four Starter after mixing
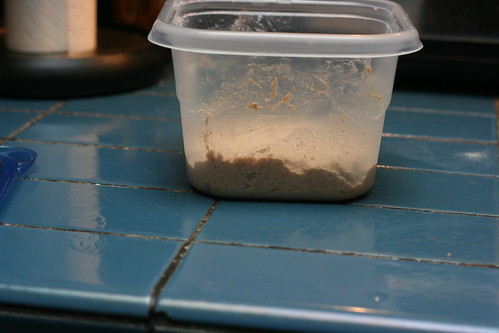
The starter was even faster in Phase Four, it doubled in about 8 hours. Definitely smells like sourdough now, no pineapple smell anymore. It has been quite a while since I've smelled that familiar scent, it makes me anxious to make some bread with it!
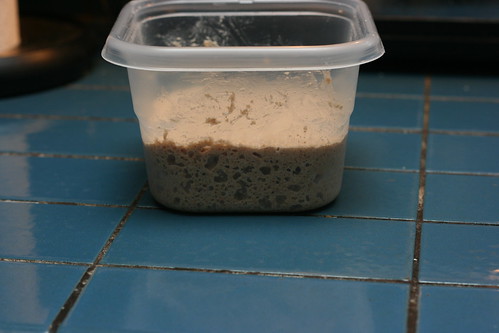
Even more bubbles!
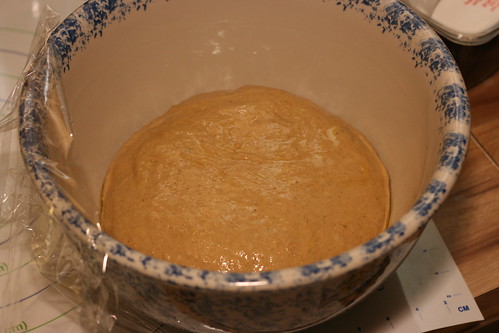
And now finally we get to the mother starter. This is the final Phase, the version of the starter you will refresh every so often and use to make the wild yeast starters for each loaf.
Ingredients for the Mother Starter (again, only a portion of the starter from the previous phase is used, I reserved the other portion to make a sandwich loaf)
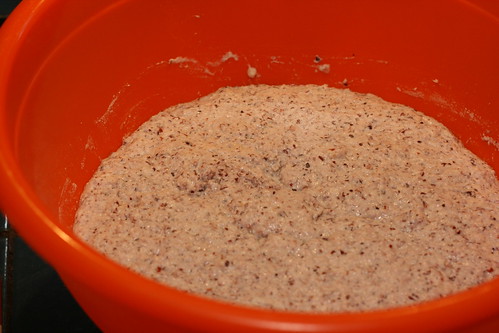
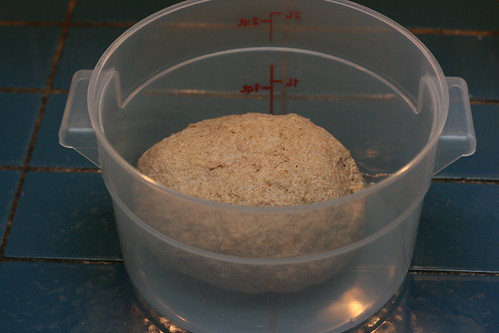
Mixed Mother Starter
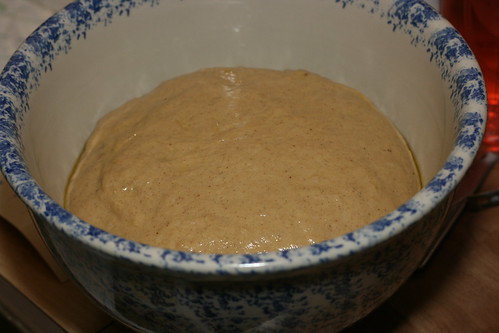
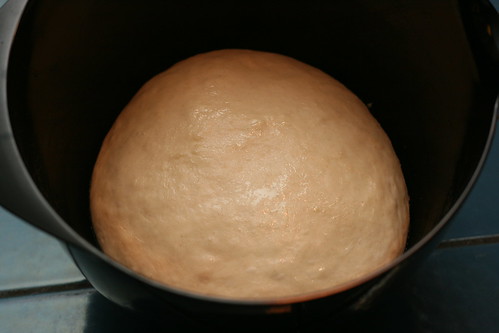
I didn't get pictures of this, but after you mix the Mother, you let it rise until it is nearly doubled, punch it down, put it back in the container and then put the container in the fridge. The Mother actually about 65% filled the dough container. The instructions were the same for the wild yeast starter for the loaf, which tried to MORE than fill the container it was in.
The Mother and the starter for the loaf went into the fridge overnight after they were punched down, as did the soaker made for the sandwich loaf. Both starters rose slightly in the fridge, and the starter for the loaf a bit more after it was take out of the fridge.
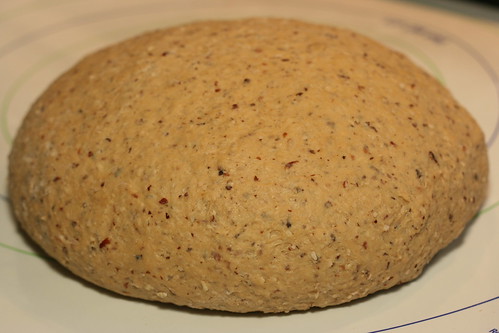
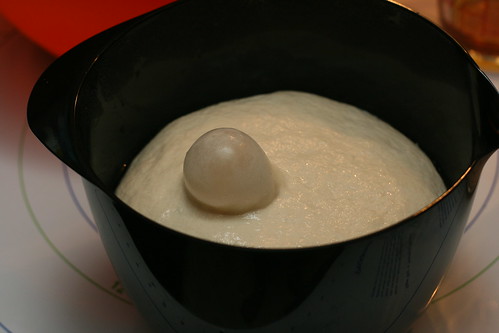
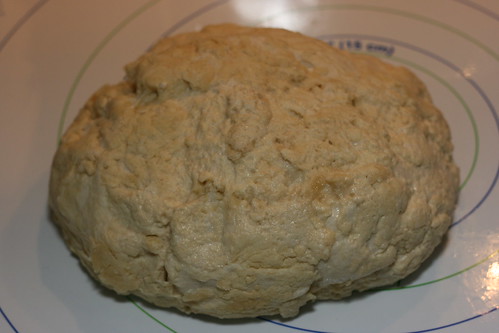
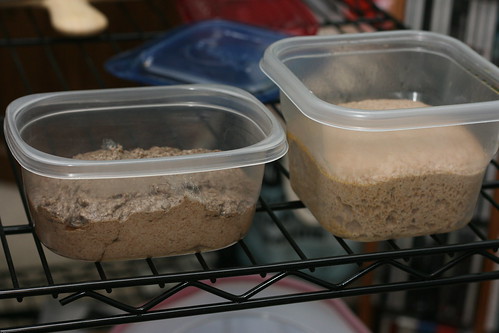
The Soaker and the Wild Yeast Starter for the loaf 2 hours after they were taken out of the fridge, right before I started making the loaf.
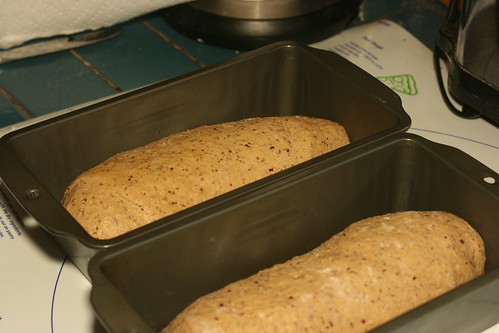
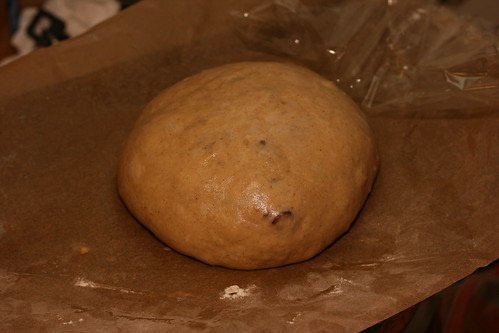
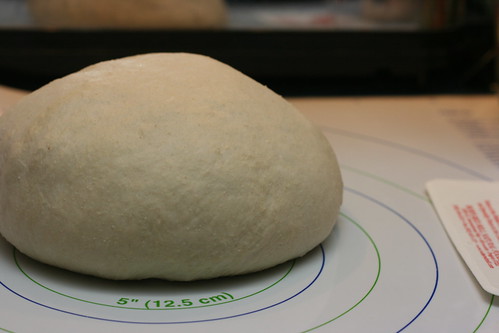
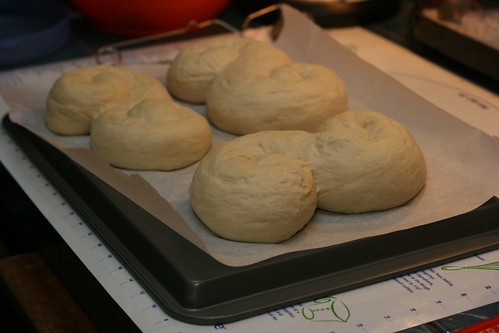
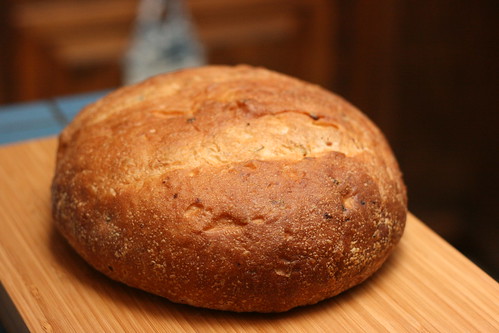
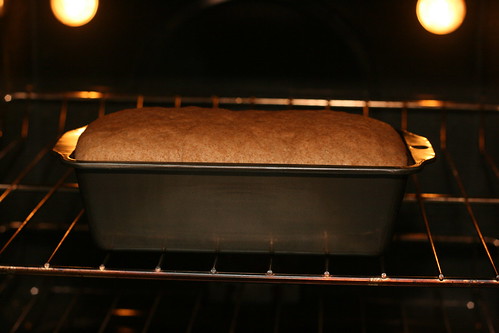
I also neglected to take pictures of the loaf as it was rising, and after I shaped it. I did get one just after it went into the oven.
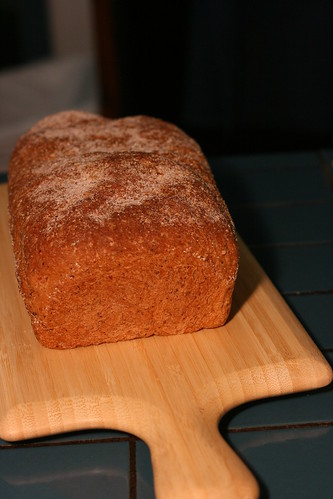
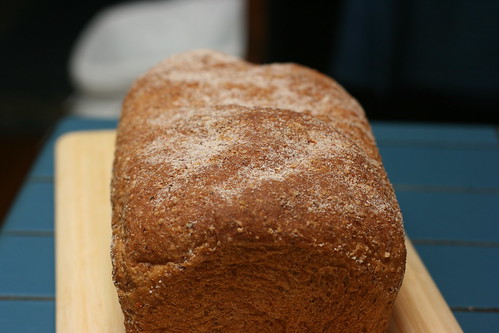
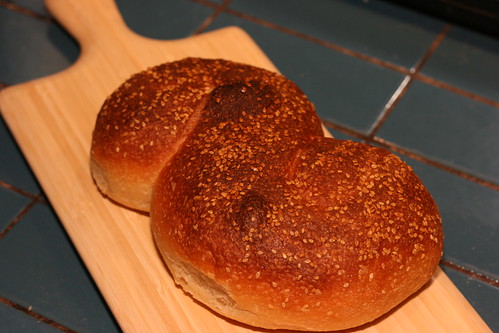
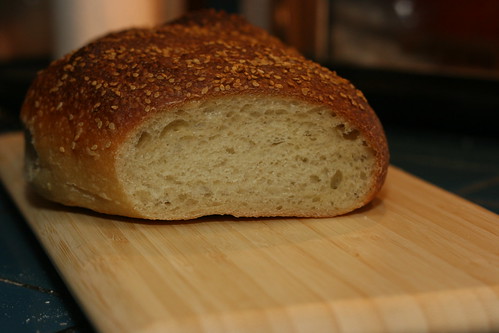
And after it came out of the oven.
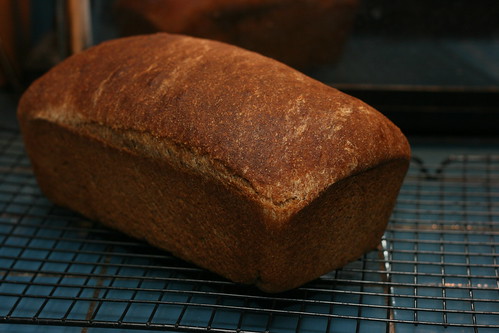
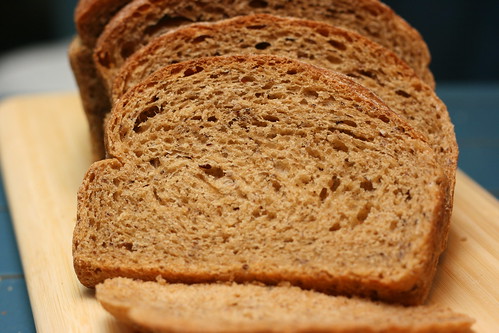
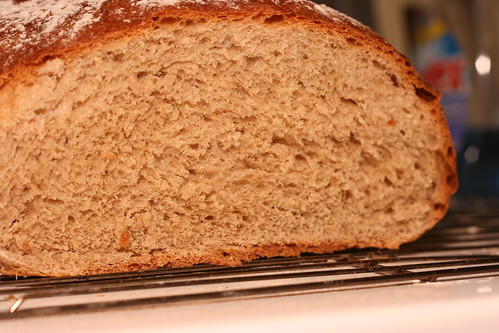
The loaf came out a bit more dense than I was hoping, but nowhere near some of the bricks I've made before! The flavor, however, is outstanding it starts out with a strong and somewhat sweet wheat flavor and finishes with a very subtle sour, leaving your palate with a wonderful combination of the flavors.
The recipe for the starter in Whole Grain Breads calls for whole wheat or rye flour and pineapple juice in the first two stages (diastatic malt in the first stage too, if you have it). The pineapple juice (or more generally, acidity) helps to prevent the colonization of the starter by leuconostoc bacteria. And I have to say, I think it worked, as this starter got going more quickly and reliably than any that I've done before.
Here is the Phase One starter, whole wheat flour (I freshly milled it from whole wheat berries), pineapple juice, and a bit of diastatic malt.
Phase One took about 48 hours sitting and waiting for the starter to come to life, the recipe also suggests stirring the starter 2-3 times a day. I only noticed a few bubbles here and there in the Phase One starter, but I couldn't be sure they weren't just leftover from the mixing. The next step is simply to add some more whole wheat flour and pineapple juice to the Phase One starter.
Here is the starter after being mixed into Phase Two with more pineapple juice and flour.
During Phase Two of the starter I was definitely starting to see some activity! Not enough to raise a bread yet, but definitely much more than had happened during Phase One. There was also the slightest hint of a sourdough starter smell, previously the dominant smell had been the pineapple juice.
Here is the starter after it fermented overnight and before it was about to move to Phase Three.
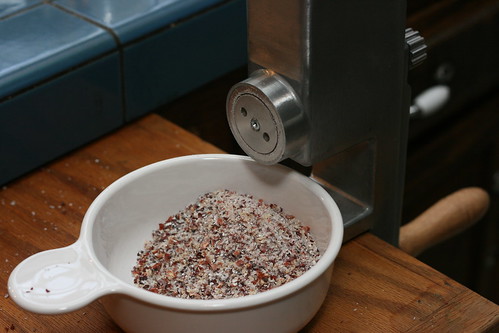
The ingredients ready for Phase Three, whole wheat flour, water, and the Phase Two starter.
Mixed Phase Three Starter.
The starter was even more active during phase three, getting bubbly and doubling quite quickly. It also definitely had more of a sourdough smell now, but with very nice sweet wheat overtones. In about 12 hours it was already ready to move onto Phase Four.
Look at those bubbles!
Ingredients for Phase Four Starter (only a portion of the starter from the previous phases is actually kept this time)
Phase Four Starter after mixing
The starter was even faster in Phase Four, it doubled in about 8 hours. Definitely smells like sourdough now, no pineapple smell anymore. It has been quite a while since I've smelled that familiar scent, it makes me anxious to make some bread with it!
Even more bubbles!
And now finally we get to the mother starter. This is the final Phase, the version of the starter you will refresh every so often and use to make the wild yeast starters for each loaf.
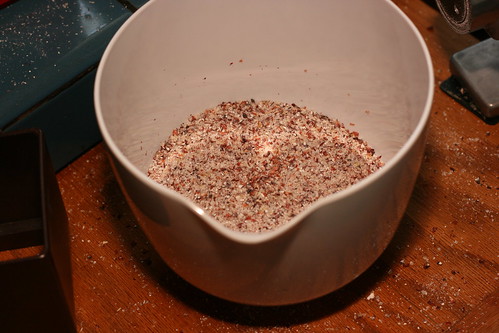
Ingredients for the Mother Starter (again, only a portion of the starter from the previous phase is used, I reserved the other portion to make a sandwich loaf)
Mixed Mother Starter
I didn't get pictures of this, but after you mix the Mother, you let it rise until it is nearly doubled, punch it down, put it back in the container and then put the container in the fridge. The Mother actually about 65% filled the dough container. The instructions were the same for the wild yeast starter for the loaf, which tried to MORE than fill the container it was in.
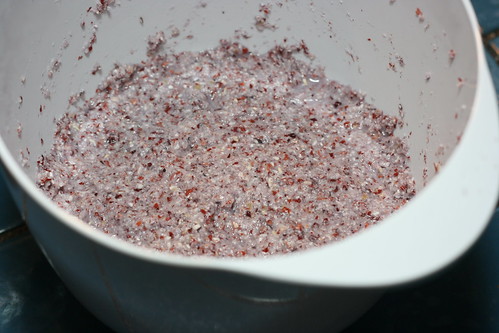
The Mother and the starter for the loaf went into the fridge overnight after they were punched down, as did the soaker made for the sandwich loaf. Both starters rose slightly in the fridge, and the starter for the loaf a bit more after it was take out of the fridge.
The Soaker and the Wild Yeast Starter for the loaf 2 hours after they were taken out of the fridge, right before I started making the loaf.
I also neglected to take pictures of the loaf as it was rising, and after I shaped it. I did get one just after it went into the oven.
And after it came out of the oven.
The loaf came out a bit more dense than I was hoping, but nowhere near some of the bricks I've made before! The flavor, however, is outstanding it starts out with a strong and somewhat sweet wheat flavor and finishes with a very subtle sour, leaving your palate with a wonderful combination of the flavors.
posted by SumisuYoshi | 8:33 PM
|
0 comments
![]()
![]()